
Star Wars Zero Company Ryloth mission guide
Follow Star Wars Zero Company Ryloth missions, including the Freedom Fighters rescue, protected targets, the bridge, six-unit extraction, and Hero work.
The direct answer
The Star Wars Zero Company Ryloth walkthrough centers on Rescue the Freedom Fighters. A four-Operator squad must reach two captive Ryloth resistance fighters, keep both alive, and then place all six units in the extraction zone. The recorded route opens with an Impact Bomb, advances through cover, holds a bridge against reinforcements, and moves the rescued fighters last.
The exact relationship between the title Rescue the Freedom Fighters and the mission’s final in-game name is To be confirmed. The mission board separately lists No Clone Left Behind as a Hero mission for Trick and lists Silent Running, Battle on the Big Bridge, Separatist Secrets, Occupation, Spoils of War, Incendiary Mines, Born Anew, and Coil Secrets among Ryloth entries.
Understand the three objective phases
The recorded rescue route uses a changing objective tracker. The first prompt is to reach the two targets. The second requires both targets to survive, including after they join the squad. The third changes to Get to the Extraction Zone with a 0/6 counter.
The six units are the original four Operators and the two rescued resistance fighters. A unit standing near the marked area does not count until it is inside, so check the counter before ending the final turn. You do not need to wipe the map when the extraction condition is the active objective.
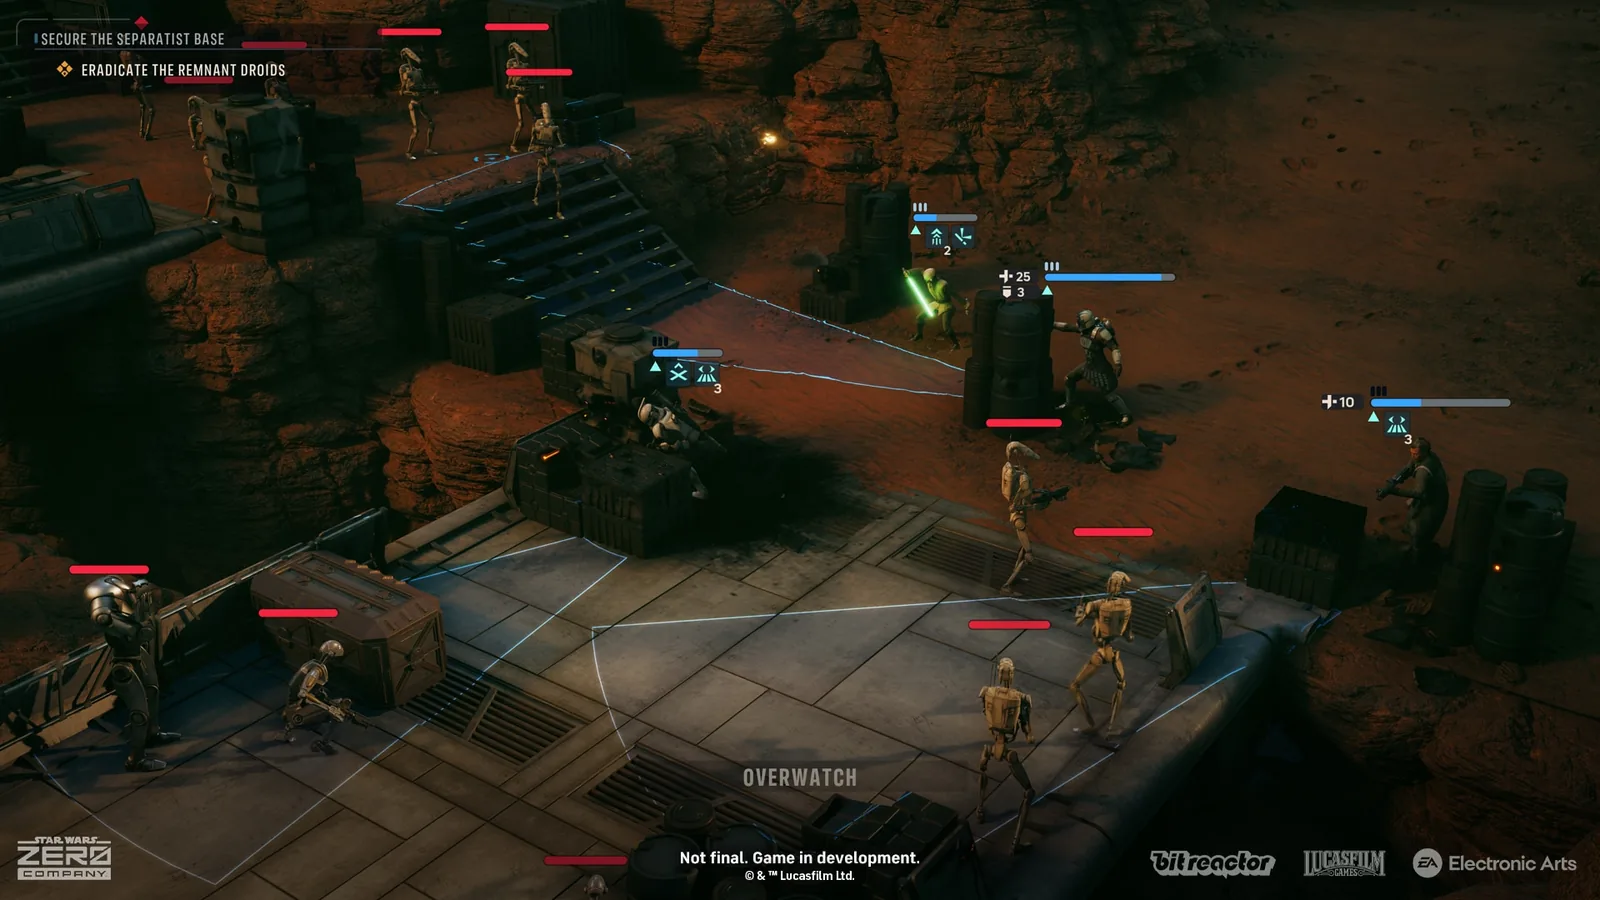
The target markers should determine the first route. Decide which Operator will make contact with each captive and which units will protect that approach. Bringing the whole squad down one lane can waste movement and leave the second target exposed when the reinforcement prompt appears.
Opening the route through the droids
The recorded route opens with an Impact Bomb against the packed B1 Battle Droids. It then places Trick against the B2 Super Battle Droid with Fire Repeating Blaster. Advance Jae Mordant and the rest of the squad while taking opportunistic shots, and end the turn behind cover when the targets are not yet reachable.
Rocket Primed droids are the first priority in the recorded route. B2 units on rooftops come next because they have clear sightlines onto the approach. BX Droid Commandos need a close-range answer when a wounded unit can still reach the squad, while ordinary B1 units can wait if they do not block the path.
Heal between pushes rather than waiting for a unit to fall. Rallying a downed Operator costs an action and can add an injury, which matters when permadeath is enabled. Exact item costs, ability ranks, and alternative squad compositions are To be confirmed outside the recorded run.
Rescue both resistance fighters
Clear the roofline above the first captive before sending the rescuer into contact. An elevated B2 can shoot the Operator who makes the rescue, and the freed fighter remains a valid target after joining the squad. Top up health on a damaged unit when the next reinforcement wave is close.
The recorded route moves Fred into contact with the first Ryloth resistance fighter. The captive becomes controllable immediately and can act on the same turn. Use that extra unit carefully because it creates another attack opportunity and another character who must survive the rest of the mission.
When the Reinforcements Incoming prompt appears, use the bridge as a choke point. Leave Action Points for Overwatch across the crossing so new droids can trigger reaction fire before they reach the squad. With the approach covered, buff Fred with a Combat Stim style effect in the recorded route and move him to the second captive.
The second contact changes the objective to extraction. Do not treat that contact as the end of the mission because the 6/6 count still needs every required unit. Keep the two rescued fighters behind the more durable Operators while clearing only the enemies that block the exit.
Finish the 6/6 extraction
Move the two resistance fighters last. Grenades help against grouped reinforcement spawns, and at least one Operator can use remaining Action Points for Overwatch between throws. Layer defensive or healing support on the unit furthest forward when the route cannot be completed in one turn.
The mission ends when the extraction counter reaches 6/6. The remaining droids do not need to die at that point in the recorded route. If the counter stops at 5/6, find the Operator or rescued fighter who is one tile short rather than starting another attack.
The common failure states in the recorded route are the death of a resistance fighter, incomplete occupancy of the extraction zone, a stalled opening that allows reinforcements to build up, and a unit ending a turn exposed. A mission can be restarted from the game menu, which lets you retry the route with the same Operators.
Other Ryloth entries
The mission board lists No Clone Left Behind as a Hero mission tied to Trick. It lists Silent Running as a rescue contract, Battle on the Big Bridge as a combat entry, Separatist Secrets as a retrieval task, Occupation as a mission against an Imperial outpost, and Spoils of War as a weapons-data objective. The board also contains prototype-related entries such as Incendiary Mines, Born Anew, and Coil Secrets.
Those names show the range of Ryloth objectives, but they do not supply a full tactical walkthrough for each entry. Read the active briefing because a location can contain Main, Hero, Optional, and crisis-style work. The exact mission order, rewards, map layout, and failure conditions for the other Ryloth entries are To be confirmed.
Ryloth is therefore a route where movement and protection matter more than a full clear. Reach the two targets, preserve both lives, cover the bridge, and watch the 6/6 counter before you commit to the last turn.
Related knowledge
Related entities
Related articles
missions
Star Wars Zero Company Storm Basin Mission Guide
Learn how the Storm Basin rescue mission works in Star Wars Zero Company, including the Runa trigger, six civilians, six-turn objective, and route limits.
missions
Our Jedi Friend Operation Guide
Find the verified Our Jedi Friend choices, requirements, Intel cost, availability, and Smugglers' Den connection in STAR WARS Zero Company.
missions
Star Wars Zero Company Anaxes mission guide
Explore Star Wars Zero Company Anaxes missions, including Buy Cheap, Never Sleep, Kabb's required objective, Holotable access, rewards, and failure checks.
Was this helpful?
Thanks for the feedback.