
Star Wars Zero Company operation chains guide
Follow Star Wars Zero Company operation chains through Cycle choices, Influence, Credits, healing, Bonds, Capacitors, injury risk, and expiring opportunities.
The direct answer
Star Wars Zero Company operation chains are sequences of connected Operations that unfold across more than one Cycle. They are resolved from the Holotable and ask you to compare resources, Influence, risks, and relationship effects before selecting a branch. The chain called A Friend of a Friend is a recorded example and spans seven Operation Cycles.
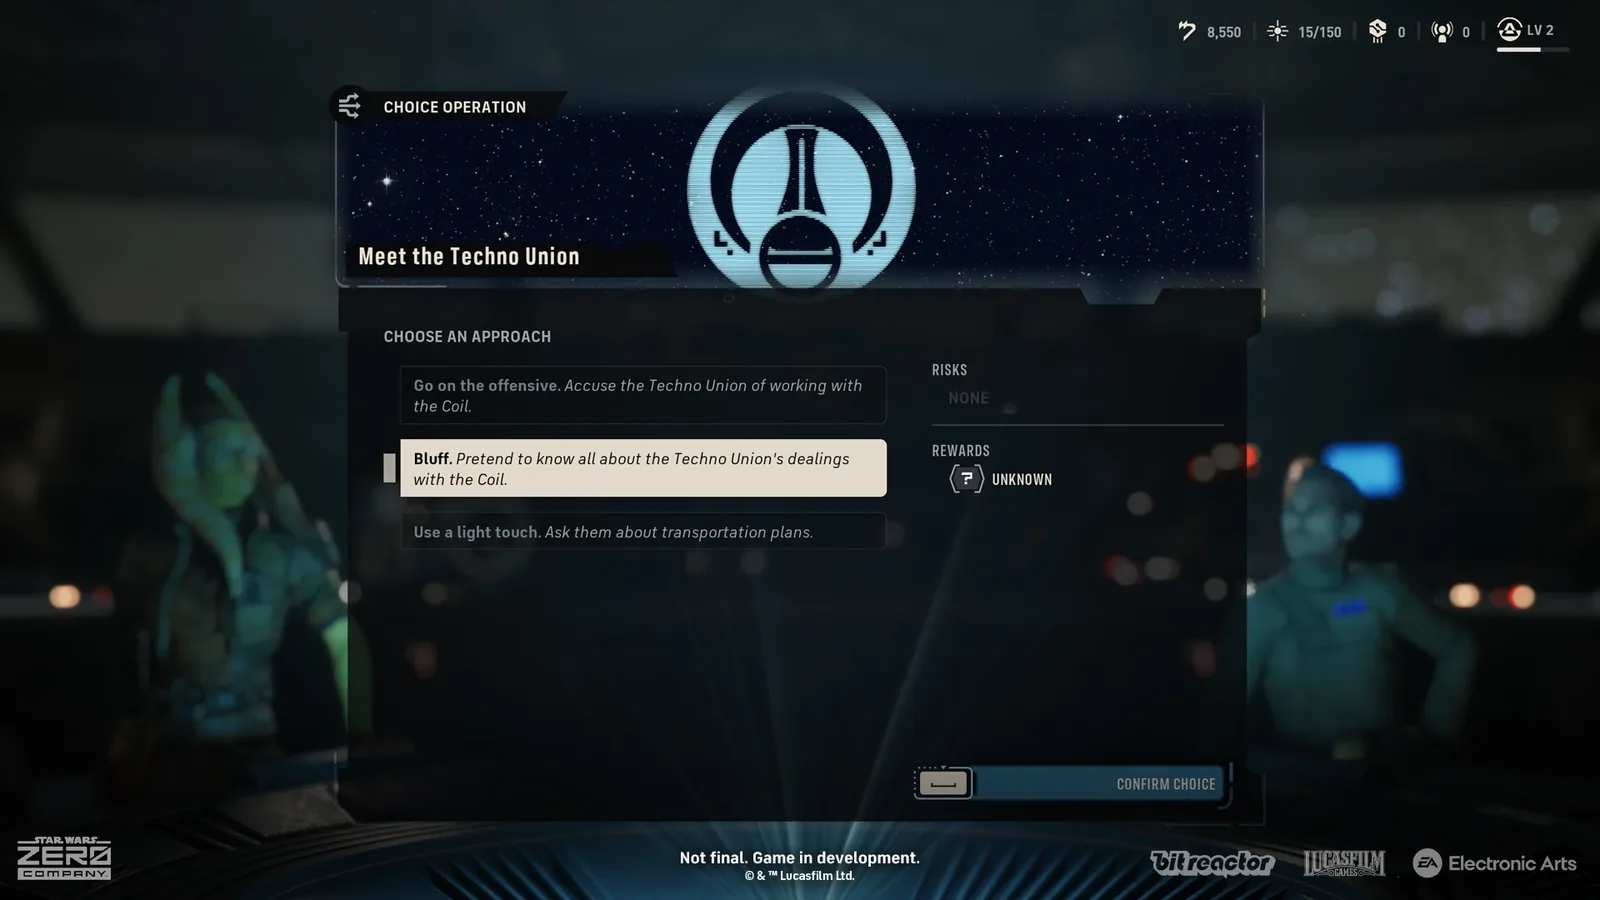
An operation chain is not a normal Tactical Mission. You do not solve it by clearing a battlefield or reaching an extraction zone. You advance it by reading the current panel, choosing an available response, accepting the displayed cost or risk, and then checking what appears in the next Cycle.
The right choice depends on the campaign state. The same resource can be more valuable when a Den upgrade, a Bond threshold, or a time-limited mission is waiting. The complete availability of every branch in a different campaign state is To be confirmed.
A Friend of a Friend as the working example
A Friend of a Friend begins at the Den’s Holotable and continues through seven Cycles in the recorded route. The chain presents contact and resource decisions, with outcomes that can change Zone Influence, Credits, health, Bonds, or later Operator value. The page should be read as a route record, not as a promise that every player will see an identical panel.
Several choices are recorded for the chain. Attacking first is listed as a high-risk option that can provide Zone Besh Influence while exposing Operators to injury. Other branches spend Credits to try a medical or personal option and return a different benefit. The visible choice text and the campaign condition should always take priority over a memorized route.
The chain guide also records a Kabb assignment that can affect Zone Esk Influence and Credits when it succeeds. Kabb’s participation is therefore a route decision rather than a generic combat recommendation. Whether the assignment appears, succeeds, or returns the same result in every state is To be confirmed.
Compare the costs before choosing
The useful comparison is not only the largest number on the reward panel. Check the cost in Credits, the amount and type of Influence, the risk of injury, and whether the choice consumes a rare strategic resource. A short-term payout can be weaker than a Bond or Max Health improvement when the next Tactical Mission is difficult.
Three resource branches are recorded with a 250 Credit cost. Nysillin is listed as healing the participating Operators, Marcan Herb as providing an additional Bond boost, and Bula Fruit as giving participating Operators an increase to Max Health. Treat those values as the recorded route result, while any branch availability outside that state remains To be confirmed.
The high-risk branch is a different kind of decision. It can add Influence quickly, yet an injury can consume a future Cycle in the Medbay and change which Operator is available for a story mission. If the squad is already damaged, the immediate Influence may not be worth the long-term loss of a deployment slot.
Influence and Zone rewards
Influence is a campaign resource that can move a Zone toward later rewards. Influence tiers can connect with equipment, upgrades, utilities, or contacts. No universal priority is established for every Zone or every campaign.
Start by checking your current Influence in each displayed Zone. Then compare the next tier with the reward from the current operation chain branch. A choice that reaches a tier may be more useful than a separate reward if the company is about to unlock a facility or a contact it needs.
Do not assume that a chain only feeds one Zone. A branch can add Influence to Besh, Esk, or another named area, while a different branch may return Credits or support an Operator. Record the Zone name and the amount shown on the result panel so later notes do not merge separate routes.
A seven-Cycle planning routine
At the start of each Cycle, visit the Holotable and read the current chain panel before doing unrelated work. Check whether the chain has a visible timer, whether an Operation or Mission will expire, and whether a required Operator is injured. Keep a reserve plan for the next Tactical Mission because the chain itself does not replace squad preparation.
Before selecting a branch, write down the four things that can be lost or gained. Those are the displayed resource cost, the immediate reward, the relationship or Influence effect, and the injury or expiry risk. This small record makes the choice understandable when the next panel appears one Cycle later.
After confirming the branch, check the result rather than assuming success. A route may unlock another panel, change a Bond, add Influence, or remove an option. If the outcome is not shown clearly, mark it To be confirmed instead of filling the gap with a fixed reward.
What operation chains do not confirm
The seven-Cycle structure of A Friend of a Friend and its recorded branch outcomes are useful route boundaries. They do not establish a complete list of all operation chains, a single best route for every campaign, or identical rewards after every update. Operations also remain separate from Tactical Missions.
Use the chain pages for choices and the Mission pages for battlefield objectives. Keep the current Cycle, available resources, participating Operators, and visible timer with every route note. That is the safest way to follow an operation chain while the full release-wide branch table remains To be confirmed.
Related knowledge
Related entities
Related articles
missions
Star Wars Zero Company Storm Basin Mission Guide
Learn how the Storm Basin rescue mission works in Star Wars Zero Company, including the Runa trigger, six civilians, six-turn objective, and route limits.
missions
Our Jedi Friend Operation Guide
Find the verified Our Jedi Friend choices, requirements, Intel cost, availability, and Smugglers' Den connection in STAR WARS Zero Company.
missions
Star Wars Zero Company Anaxes mission guide
Explore Star Wars Zero Company Anaxes missions, including Buy Cheap, Never Sleep, Kabb's required objective, Holotable access, rewards, and failure checks.
Was this helpful?
Thanks for the feedback.